Good Morning Friends!
Hope your week is off to a wonderful start:) If not, maybe a fun project will make it better…or maybe the weekend, but I can’t give you that:)
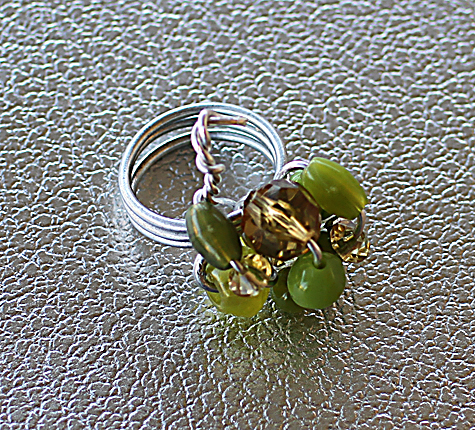
I am so digging this ring and, as always, you can totally make it yourself on the cheap.
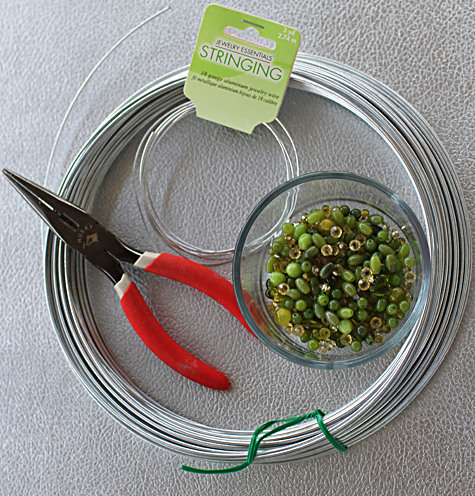
You need:
Thick gauge wire— I am flexible on exactly how thick, it needs to be bendable (by you), but strong enough to hold the shape of a ring while you are banging it all over the place on your hand.
Thin gauge wire–also flexible here, I used 24 gauge which is about right. It should be super small and very bendable.
Assorted beads–you can usually buy a pack of mixed ones, but they should be smallish with a couple of larger ones.
Needle-nosed wire cutters–or similar tools
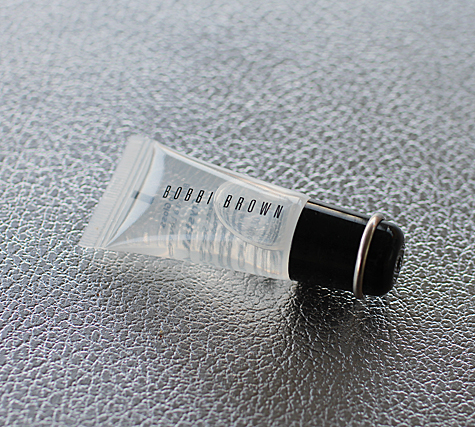
1. You need to determine what you will use to wrap the base of the ring, so go get a ring that currently fits and search the house for a cylinder that size. You could try markers, wood touch-up pens, your makeup drawer… I found Bobbi Brown to be the right size for me:)
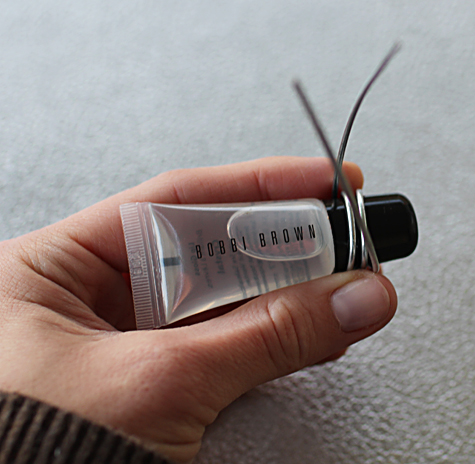
2. This is seriously the hardest part. Wrap the wire around the ring a few times. I actually started in the middle and wrapped both directions, it seemed more manageable. It’s difficult to stay tight to your cylinder, so go slow and make it look good.
3. Next overlap a little so the wires are sticking out to the sides of the ring instead of straight up (like in above photo).
4. Put a largish bead on one end and needle-nose it into place. I usually turn the wire with the tips, then smash the bead and the wire together with the pliers. This does not need to look perfect, it will mostly be hidden, just make sure that raw wire is tucked in somewhere. I like that the tucked in wire meets each other (so it covers the whole space between the beads, making it easier to do the next steps).Also, see how my rings are spaced far apart? That’s fine, you will pull them together later when you wrap the other beads.
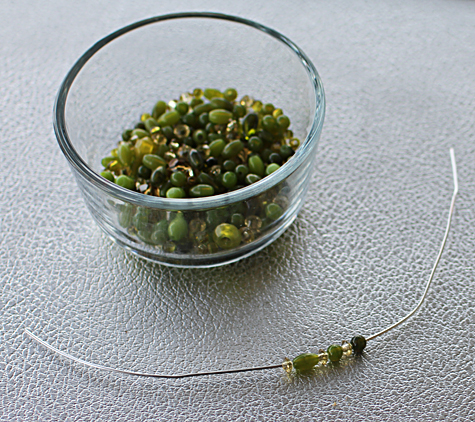
5. Choose several smallish beads to make the top part. You could throw a large in there too, but mostly small.
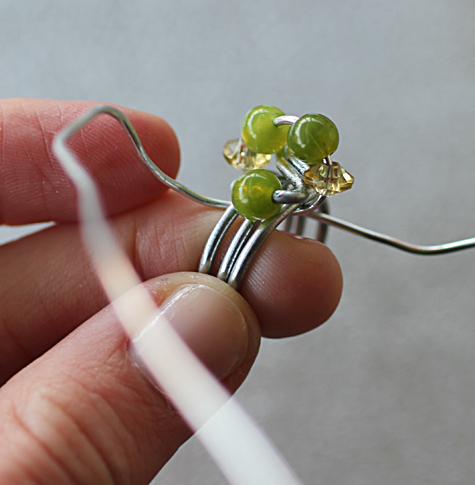
6. String a few at a time onto your 24 gauge wire and wrap around the ring, then add more and wrap again…3 times (or more if your end beads are further apart). The beads should just be on top of the ring, not under. It should use 2-4 beads per wrap. The wrap should extend from one end bead to the other and make a nice dome. Don’t get frustrated if your first ring isn’t wonderful, it took me a few times. There are bad rings in the garbage. Just sayin’.
7. Now twist the ends together, snip the ends and tuck it in tight.
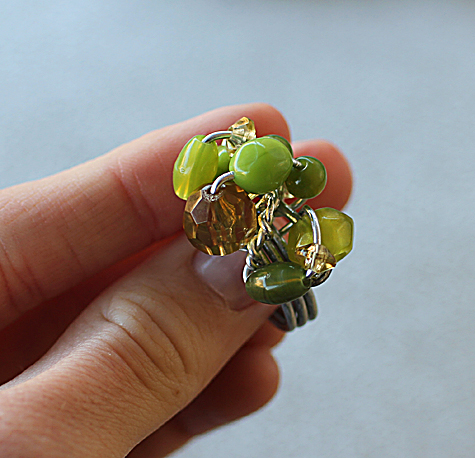 See how I scooted the beads over and hid the twist? Now just move the beads back. Easy.
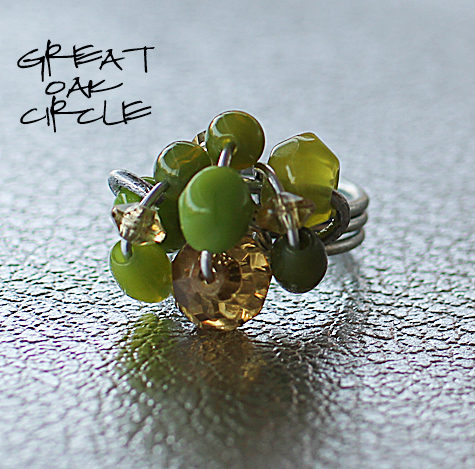
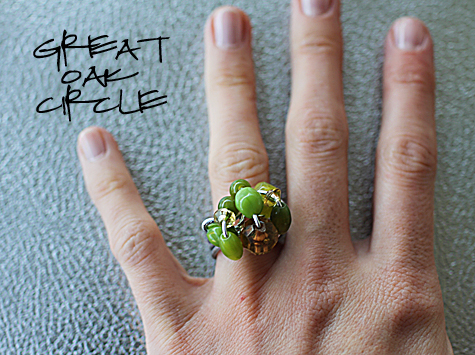
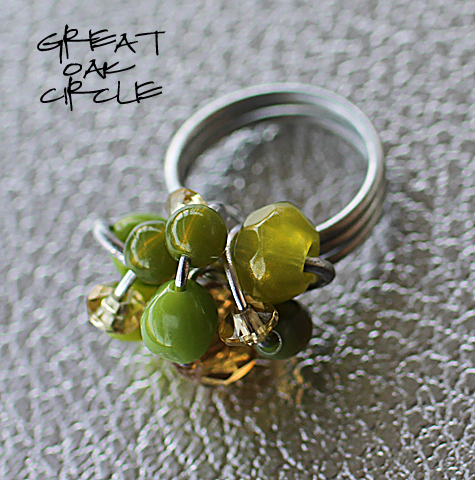 8. You are so done! Look at your awesomeness.
9. Now put it on your happy hand.
10. Then you can channel a little Beyonce, “If you liked it then you should have put a ring on it. Wuh Uh Oh Uh Uh Oh Uh Oh Oh Uh Uh Oh.”
I am linking to the CSI Project
Friday Flair @ Whipperberry
Frugualicious Friday @ Finding Fabulous
Frugal Friday @ The Shabby Nest
Inspiration Friday @ At The Picket Fence
All things domestic @ Crazy Domestic
Flaunt it Friday @ Chic on a Shoestring
Wow us Wednesday @ Savvy Southern Style
Show us your stuff @ Fireflies and Jellybeans



I really love this tutorial! I tried making a ring last week and failed….but now I know it is possible :) Thanks!!
So cute! I love it!
Ok so now you know how to make rings! What next? Love.
I love this! I have never made jewelry, but I totally think I can do this! :)
I love big, gaudy rings! This is so much fun, I want to make a bunch now!
I have all this stuff on-hand already! I’m totally going to try this. I found you on WhipperBerry. Thanks for posting such great jewelry inspiration.
Wow!! This is gorgeous! Beautiful job!
Pretty sure you make this sound easier than it would be for me, but the end product is super cute so maybe I’ll give it a try!
That is beautiful! Thanks so much for sharing and linking up to my Catch a Glimpse party! Always nice to see a new face! :)
I love this. Green is my favorite color too. I’ve made some jewelry but never rings. I might just have to try a ring.
LOVE IT! Love the color! Thanks for the tutorial. I’ve always wanted one of these rings and I love that I can make it myself. I will definitely be bookmarking this! Thanks.
Hi Christine…I’m a long-time beader and have been seeing these rings around. It’s amazing how much they cost in little shops. I have not tried to make one but think I will now. I wasn’t sure about the wrapping part but you cleared that up. Well done! Come visit my blog if you have time. I think I found you at Inspiration Friday. I’m following you now too. Have a great weekend…~Ann
Great tutorial. Your ring looks awesome!
What a great post! Beautiful project and great tutorial!
Now that song is totally stuck in my head! LOL! Love it though, and LOVE your ring. You are just uh-mazing, girl! Genius!
I’m Lovin it! Thanks for sharing
What a fantastic tutorial! Thank you for sharing, and the pictures are lovely! I’m so glad you joined our Friday Flair!
Love the green bling! Thanks for coming by and liking my old coke bench! Lezlee
This ring is gorgeous. I think I could maybe make it. I love the colors and style. Thanks for lining to tickled pink!
I was suggested this web site via my cousin. I am no longer positive whether or not this put up is written via him as no one else recognize such distinctive about my problem. You are incredible! Thank you!
Very pretty. I’ll try to see if I can make one. Thanks!
I love your work
Thank you very much! I look forward to getting one for me;)
If some one wants to be updated with most recent technologies therefore he must be
pay a visit this web site and be up to date daily.
Hmm is anyone else experiencing problems with the pictures
on this blog loading? I’m trying to find out if its a problem on my end or if it’s the blog.
Any suggestions would be greatly appreciated.
Thank you so much for posting this! Love this! Just made like 4 of these :) gonna be checking out this page when I can !